As the holiday season approaches, many people seek ways to decorate their homes in a festive and meaningful manner. One of the most charming and rustic options is to create ornaments from dried pine cones. These natural decorations not only capture the essence of winter but also offer a wonderful opportunity for creativity and personalization. In this comprehensive guide, we will explore the process of making dried pine cone Christmas ornaments, including materials, techniques, and creative ideas to help you craft beautiful, memorable decorations.
1. Understanding the Charm of Pine Cone Ornaments
A. The Beauty of Natural Materials
Pine cones are a classic symbol of winter and the holiday season. Their unique shapes and earthy tones make them perfect for creating rustic decorations that evoke a sense of warmth and nostalgia. Using natural materials in holiday decor can also enhance the beauty of your home, providing a cozy atmosphere.
B. Sustainability and Eco-Friendliness
Creating ornaments from dried pine cones is an eco-friendly choice. Pine cones are a natural resource that can be collected without harming the environment. By using natural materials, you can create sustainable decorations that minimize waste and promote a connection to nature.
C. Crafting as a Family Activity
Making pine cone ornaments can be a delightful family activity. It allows everyone, from children to adults, to express their creativity while spending quality time together. This shared experience can foster a sense of togetherness during the busy holiday season.
2. Collecting and Preparing Pine Cones
A. Choosing the Right Pine Cones
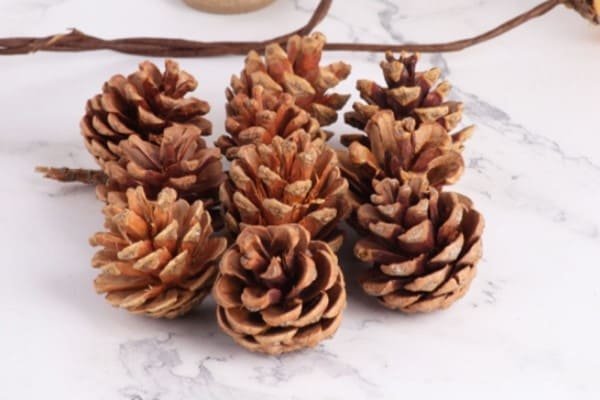
When collecting pine cones, look for those that are fully closed and dried. Closed pine cones are more suitable for decoration since they will open up when dry and can be painted or adorned easily.
Types of Pine Cones to Consider
- Sugar Pine Cones: These are long and slender, making them great for hanging ornaments.
- Western White Pine Cones: These have a more rounded shape and can be painted beautifully.
- Eastern White Pine Cones: Slightly smaller, these are perfect for intricate designs.
B. Preparing the Pine Cones
Before you start crafting, you’ll need to clean and prepare your pine cones.
Steps for Preparation
- Clean the Pine Cones: Remove any dirt or debris by gently brushing the cones with a soft brush. If necessary, soak them in warm soapy water for a few minutes, then rinse thoroughly and allow them to dry completely.
- Bake to Kill Pests: To ensure that any insects or larvae are eliminated, bake the pine cones in the oven at 200°F (93°C) for about 30 minutes. This step will also help open the cones.
- Allow to Cool: Let the pine cones cool completely before proceeding to the next steps in your crafting.
3. Materials Needed for Crafting Pine Cone Ornaments
Gather the following materials to create beautiful pine cone ornaments:
A. Basic Supplies
- Dried pine cones
- Twine or ribbon (for hanging)
- Hot glue gun and glue sticks
- Scissors
B. Decorative Materials
Consider adding these decorative materials to enhance your ornaments:
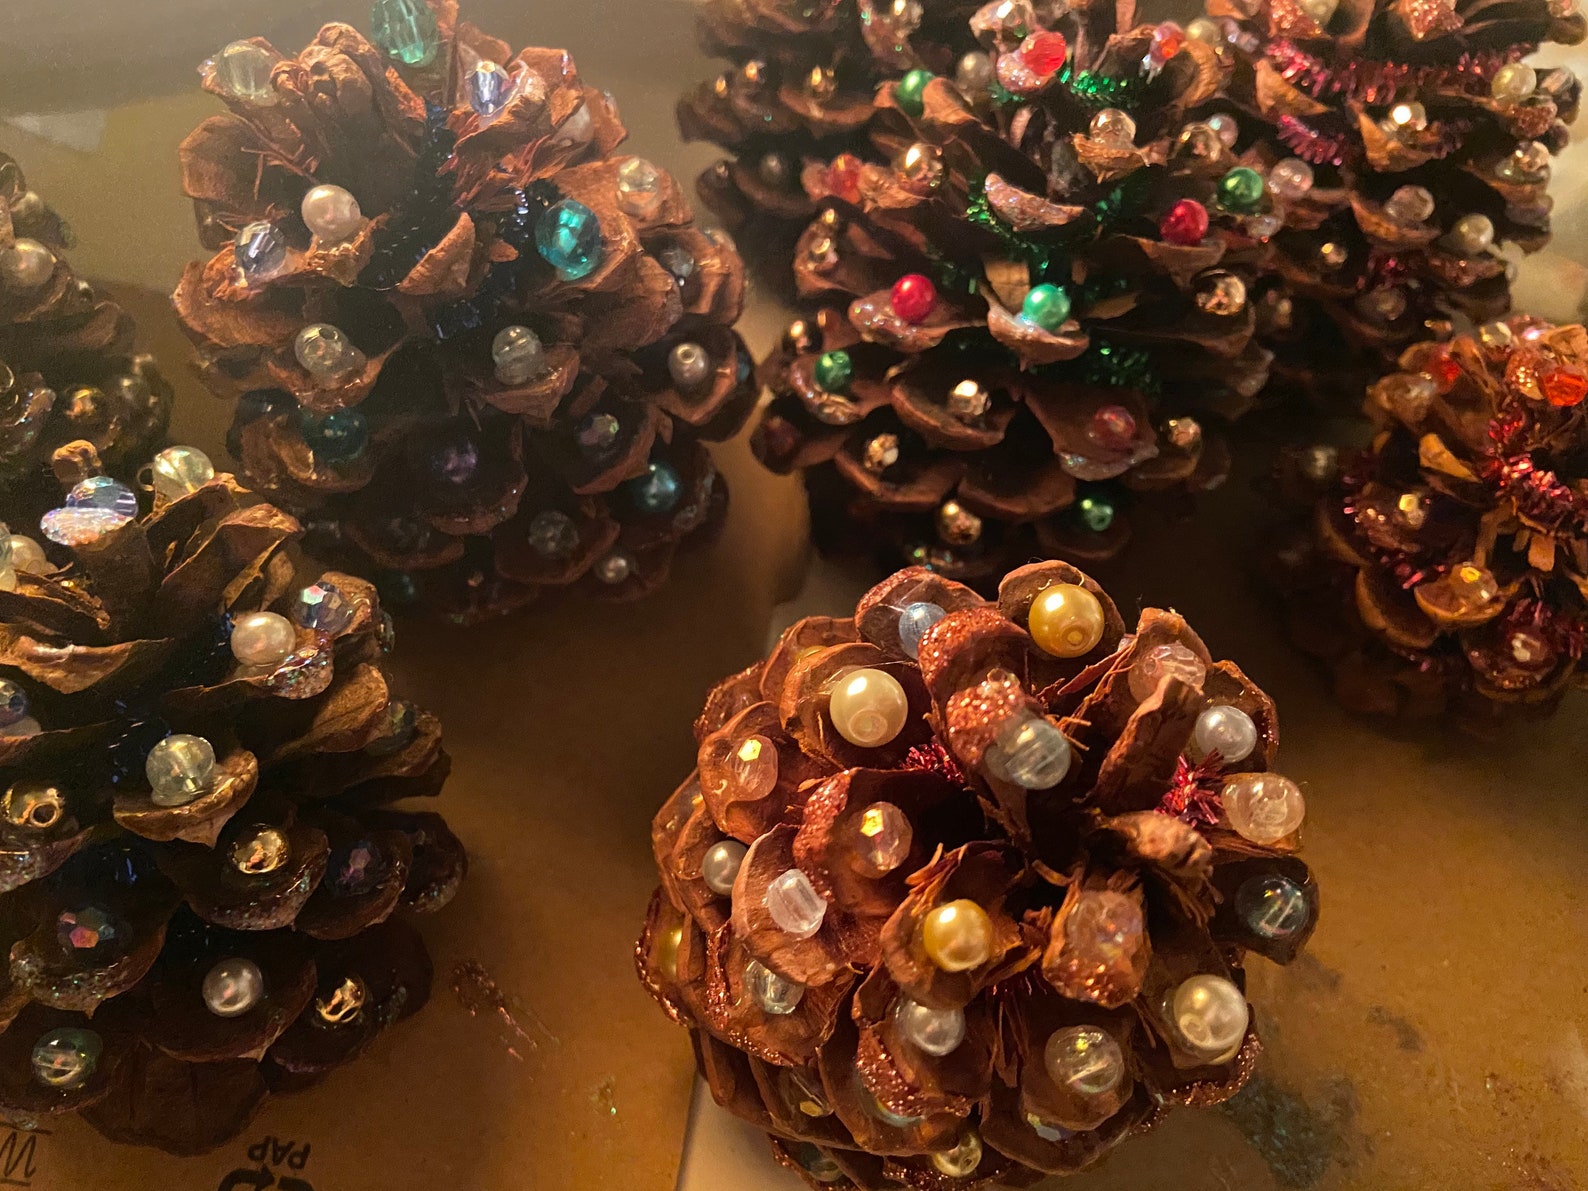
- Paints: Acrylic paints work well for adding color to pine cones.
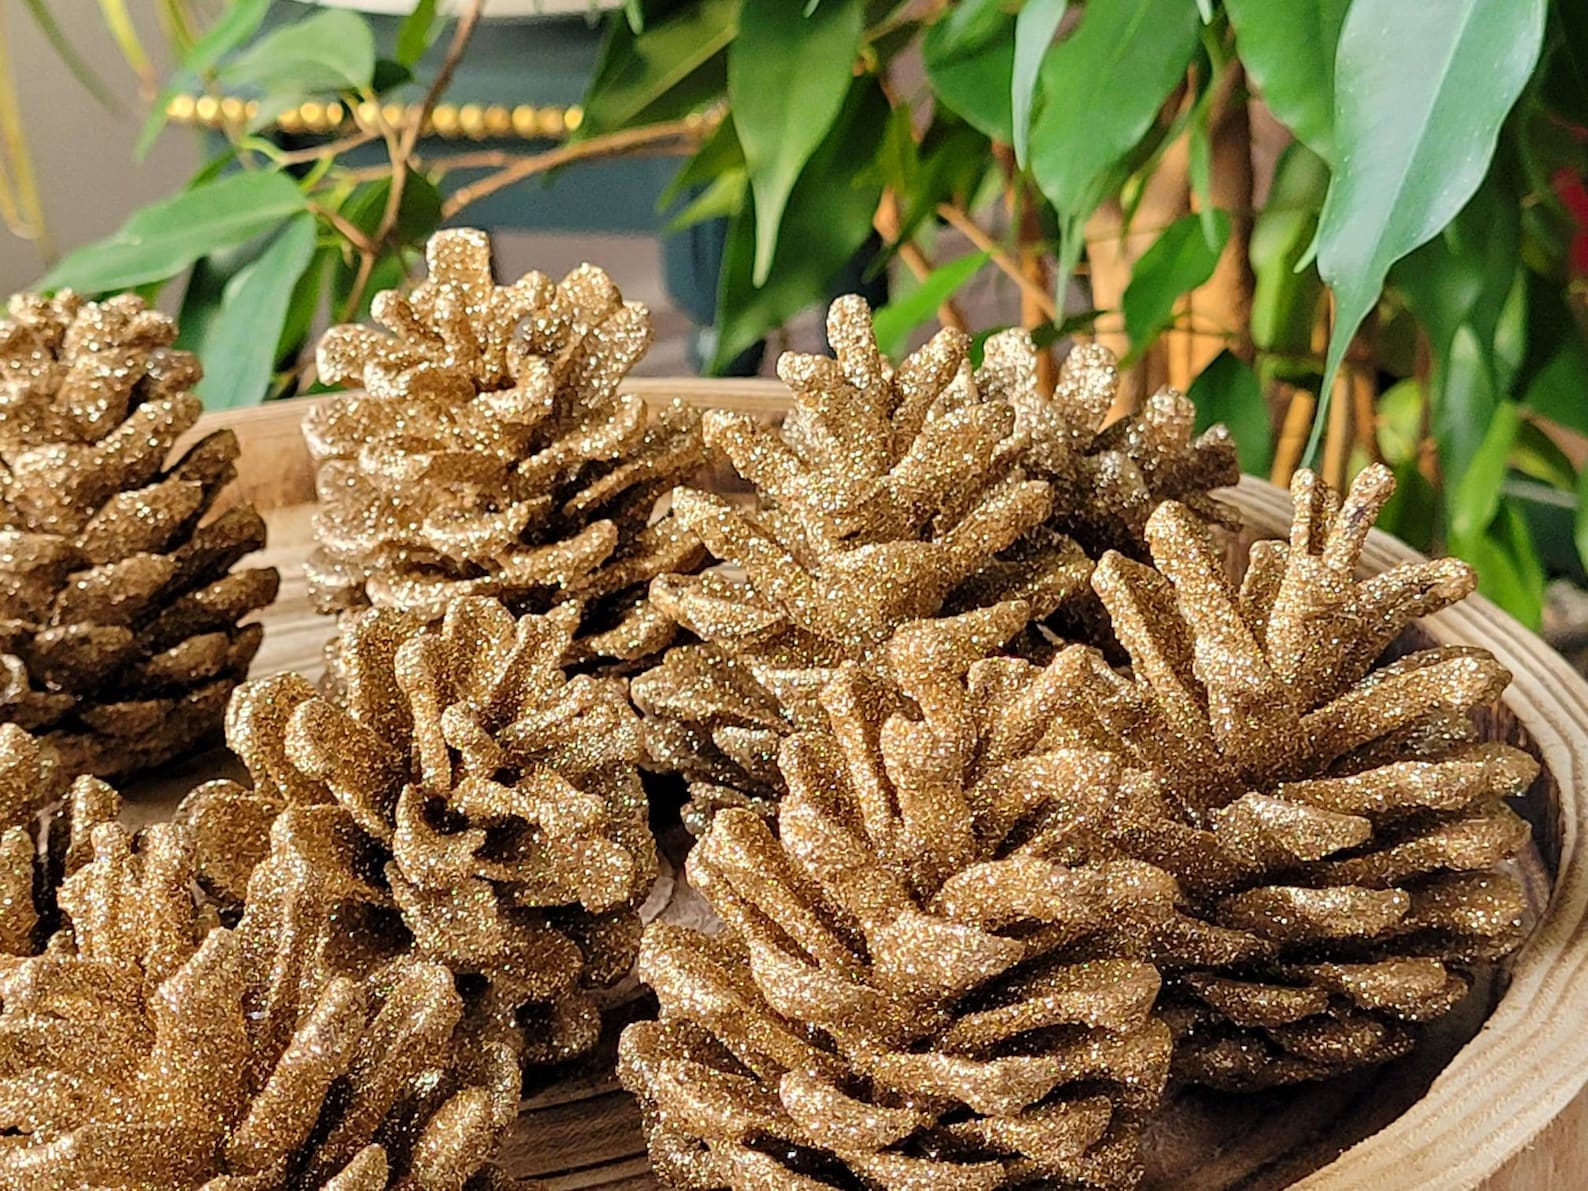
- Glitter: Adds sparkle and a festive touch.
- Beads: Use for embellishment on ribbons or twine.
- Faux Snow: Creates a winter wonderland effect.
- Natural Elements: Think of dried berries, twigs, or cinnamon sticks for added decoration.
- Wire: For creating unique shapes or securing ornaments.
4. Crafting Your Pine Cone Ornaments: Step-by-Step Instructions
A. Simple Painted Pine Cone Ornament
This is a straightforward yet beautiful project perfect for beginners.
Step 1: Choose Your Paint
Select a color that complements your holiday decor. Classic colors include red, green, gold, and white.
Step 2: Paint the Pine Cone
- Use a paintbrush to apply a thin layer of acrylic paint to the edges of the pine cone scales.
- Allow the paint to dry completely before proceeding to the next step.
Step 3: Add Glitter (Optional)
- While the paint is still slightly tacky, sprinkle glitter over the painted areas to create a sparkling effect.
- Allow the ornament to dry completely.
Step 4: Attach Twine or Ribbon
- Cut a length of twine or ribbon to your desired length for hanging.
- Use hot glue to secure the twine or ribbon to the top of the pine cone. Ensure it's firmly attached.
B. Pine Cone Bird Feeder Ornament
Not only is this ornament decorative, but it also provides food for winter birds.
Step 1: Gather Materials
You’ll need a pine cone, peanut butter, birdseed, twine, and scissors.
Step 2: Prepare the Pine Cone
- Clean and dry the pine cone as mentioned earlier.
- If desired, tie a length of twine around the top of the cone for hanging.
Step 3: Apply Peanut Butter
- Using a butter knife or spatula, spread peanut butter all over the pine cone, ensuring it fills the crevices.
Step 4: Roll in Birdseed
- Pour birdseed onto a plate and roll the peanut butter-covered pine cone in the seeds, pressing down gently to ensure they stick.
Step 5: Hang Outside
- Find a suitable branch or hook outside to hang your bird feeder ornament, providing nourishment for local birds.
C. Rustic Pine Cone Wreath Ornament
Create a charming wreath ornament using pine cones and other natural materials.
Step 1: Create the Base
- Cut a circular base from cardboard, about 6 inches in diameter.
- Optionally, you can cover it with twine or burlap for added texture.
Step 2: Arrange Pine Cones
- Position pine cones around the circular base, varying their sizes for a dynamic look.
- Use hot glue to secure each pine cone in place.
Step 3: Add Decorative Elements
- Use dried berries, faux snow, or small ornaments to embellish the wreath.
- Allow everything to dry completely.
Step 4: Attach Twine or Ribbon
- Create a loop with twine or ribbon and glue it to the top of the wreath for hanging.
D. Glittered Pine Cone Ornament
This ornament adds a festive touch with glitter and embellishments.
Step 1: Prepare the Pine Cone
Clean and dry the pine cone as mentioned earlier.
Step 2: Apply Adhesive
- Use craft glue or a glue stick to apply glue to the scales of the pine cone.
Step 3: Sprinkle Glitter
- Generously sprinkle glitter over the glued areas.
- Shake off any excess glitter.
Step 4: Attach Hanging Element
- Secure a loop of twine or ribbon to the top of the pine cone with hot glue.
E. Dried Pine Cone Garland
Creating a garland adds a delightful touch to your holiday decor.
Step 1: Gather Materials
You’ll need multiple pine cones, twine, and decorative elements like greenery or ornaments.
Step 2: Prepare Pine Cones
Clean and dry all pine cones thoroughly.
Step 3: String the Pine Cones
- Cut a long piece of twine to the desired length of your garland.
- Use a hot glue gun to attach pine cones at intervals along the twine, ensuring they are securely fastened.
Step 4: Add Decorative Elements
- Consider adding small ornaments or greenery between the pine cones for added charm.
- Allow everything to dry completely before hanging.
5. Decorating Ideas for Your Pine Cone Ornaments
A. Personalization
Encourage creativity by personalizing ornaments. Use family members' names or dates for a meaningful touch. Paint initials on individual pine cones or use letter stickers.
B. Color Coordination
Match your ornaments to your holiday color scheme. Use specific paint colors or embellishments that fit your existing decor, ensuring a cohesive look throughout your home.
C. Themed Collections
Consider creating themed collections of ornaments. For example, a “winter wonderland” theme could incorporate white paint and faux snow, while a “woodland” theme might focus on natural tones and textures.
D. Display Ideas
- Christmas Tree: Hang your pine cone ornaments on the tree, mixing them with other decorations for a charming look.
- Garland: Use your pine cone garland to drape over mantels, doorways, or staircases.
- Centerpieces: Place larger pine cone ornaments in bowls or trays as centerpieces for tables.
A. Storage
When the holiday season is over, store your pine cone ornaments in a cool, dry place. Use plastic bins or tissue paper to prevent damage during storage.
B. Dusting
To maintain their appearance, occasionally dust your pine cone ornaments with a soft cloth or a feather duster.
C. Repairing
If any decorations come loose or if the pine cone itself becomes damaged, you can easily repair them with hot glue or additional paint.
7. Conclusion
Dried pine cone Christmas ornaments offer a unique and beautiful way to celebrate the holiday season. They embody the spirit of nature while allowing for creativity and personalization. With their rustic charm and eco-friendly appeal, these ornaments can enhance your holiday decor and create lasting memories.
By following the steps outlined in this guide, you can create a wide variety of pine cone ornaments that reflect your style and the joy of the season. Whether you’re making ornaments for your own home or as gifts for loved ones, the joy of crafting these decorations can be a fulfilling experience.
8. Advanced Techniques for Pine Cone Ornaments
For those looking to elevate their crafting skills, here are some advanced techniques to explore when making dried pine cone ornaments:
A. Layering with Other Natural Elements
Enhance your pine cone ornaments by incorporating other natural elements. This could include:
- Dried Flowers: Add small dried flower accents for a pop of color and a delicate touch. Use hot glue to secure them to the pine cone.
- Moss: Attach preserved moss to the base of the pine cone to create a whimsical woodland look. Moss can also help stabilize the pine cone if it’s being used as a base for other decorations.
B. Painting Techniques
Explore different painting techniques to create unique effects:
- Ombre Effect: Blend two or more colors by applying one color at the base and gradually transitioning to another at the tips of the scales.
- Stippling: Use a sponge or brush to apply paint in a stippled pattern, creating texture and depth.
C. Incorporating Lights
For a truly magical effect, consider integrating small LED lights into your pine cone ornaments:
- Choose Battery-Operated Lights: These are ideal for creating illuminated ornaments without the need for an outlet.
- Wrap Lights Around Pine Cones: Carefully wrap the lights around the scales, securing them with twine or glue as needed.
- Hanging and Display: Hang the illuminated ornaments on your tree or use them as part of a centerpiece for added sparkle.
D. Creating Functional Ornaments
Transform pine cone ornaments into functional items:
- Scented Ornaments: Infuse your ornaments with seasonal scents by applying a mixture of essential oils (like cinnamon or pine) to the surface of the pine cones.
- Gift Tags: Attach small tags to your pine cone ornaments for use as gift tags, making them both decorative and practical.
9. Sharing Your Crafting Experience
Once you've created your beautiful pine cone ornaments, consider sharing your crafting experience with others:
A. Host a Crafting Party
Invite friends and family over for a pine cone ornament-making party. Provide materials and snacks, and enjoy the camaraderie of creating together.
B. Share on Social Media
Document your crafting process and share photos of your finished ornaments on social media. Use hashtags like #PineConeOrnaments and #DIYChristmas to connect with other crafters and inspire others.
C. Gift Your Ornaments
Consider gifting your handmade pine cone ornaments to friends and family. Handmade gifts often carry more sentimental value, and sharing your creations can spread holiday cheer.
10. Final Thoughts
Creating dried pine cone Christmas ornaments is not just a craft; it’s a celebration of nature, creativity, and the spirit of the holiday season. These ornaments can be cherished keepsakes that bring warmth and joy for years to come.
By following the steps outlined in this guide, you can craft a range of beautiful, personalized ornaments that reflect your style and spirit. The versatility of pine cones allows for endless creativity—whether you're painting, embellishing, or designing functional pieces, there's no limit to what you can achieve.
As you embark on your crafting journey, remember to enjoy the process and let your creativity flow. Celebrate the beauty of the season, the joy of making, and the connection to nature through your delightful pine cone ornaments. Happy crafting!


